Composting made easy
-

Choose your composter
The type of composter you choose depends on how much green waste you’ll be adding.
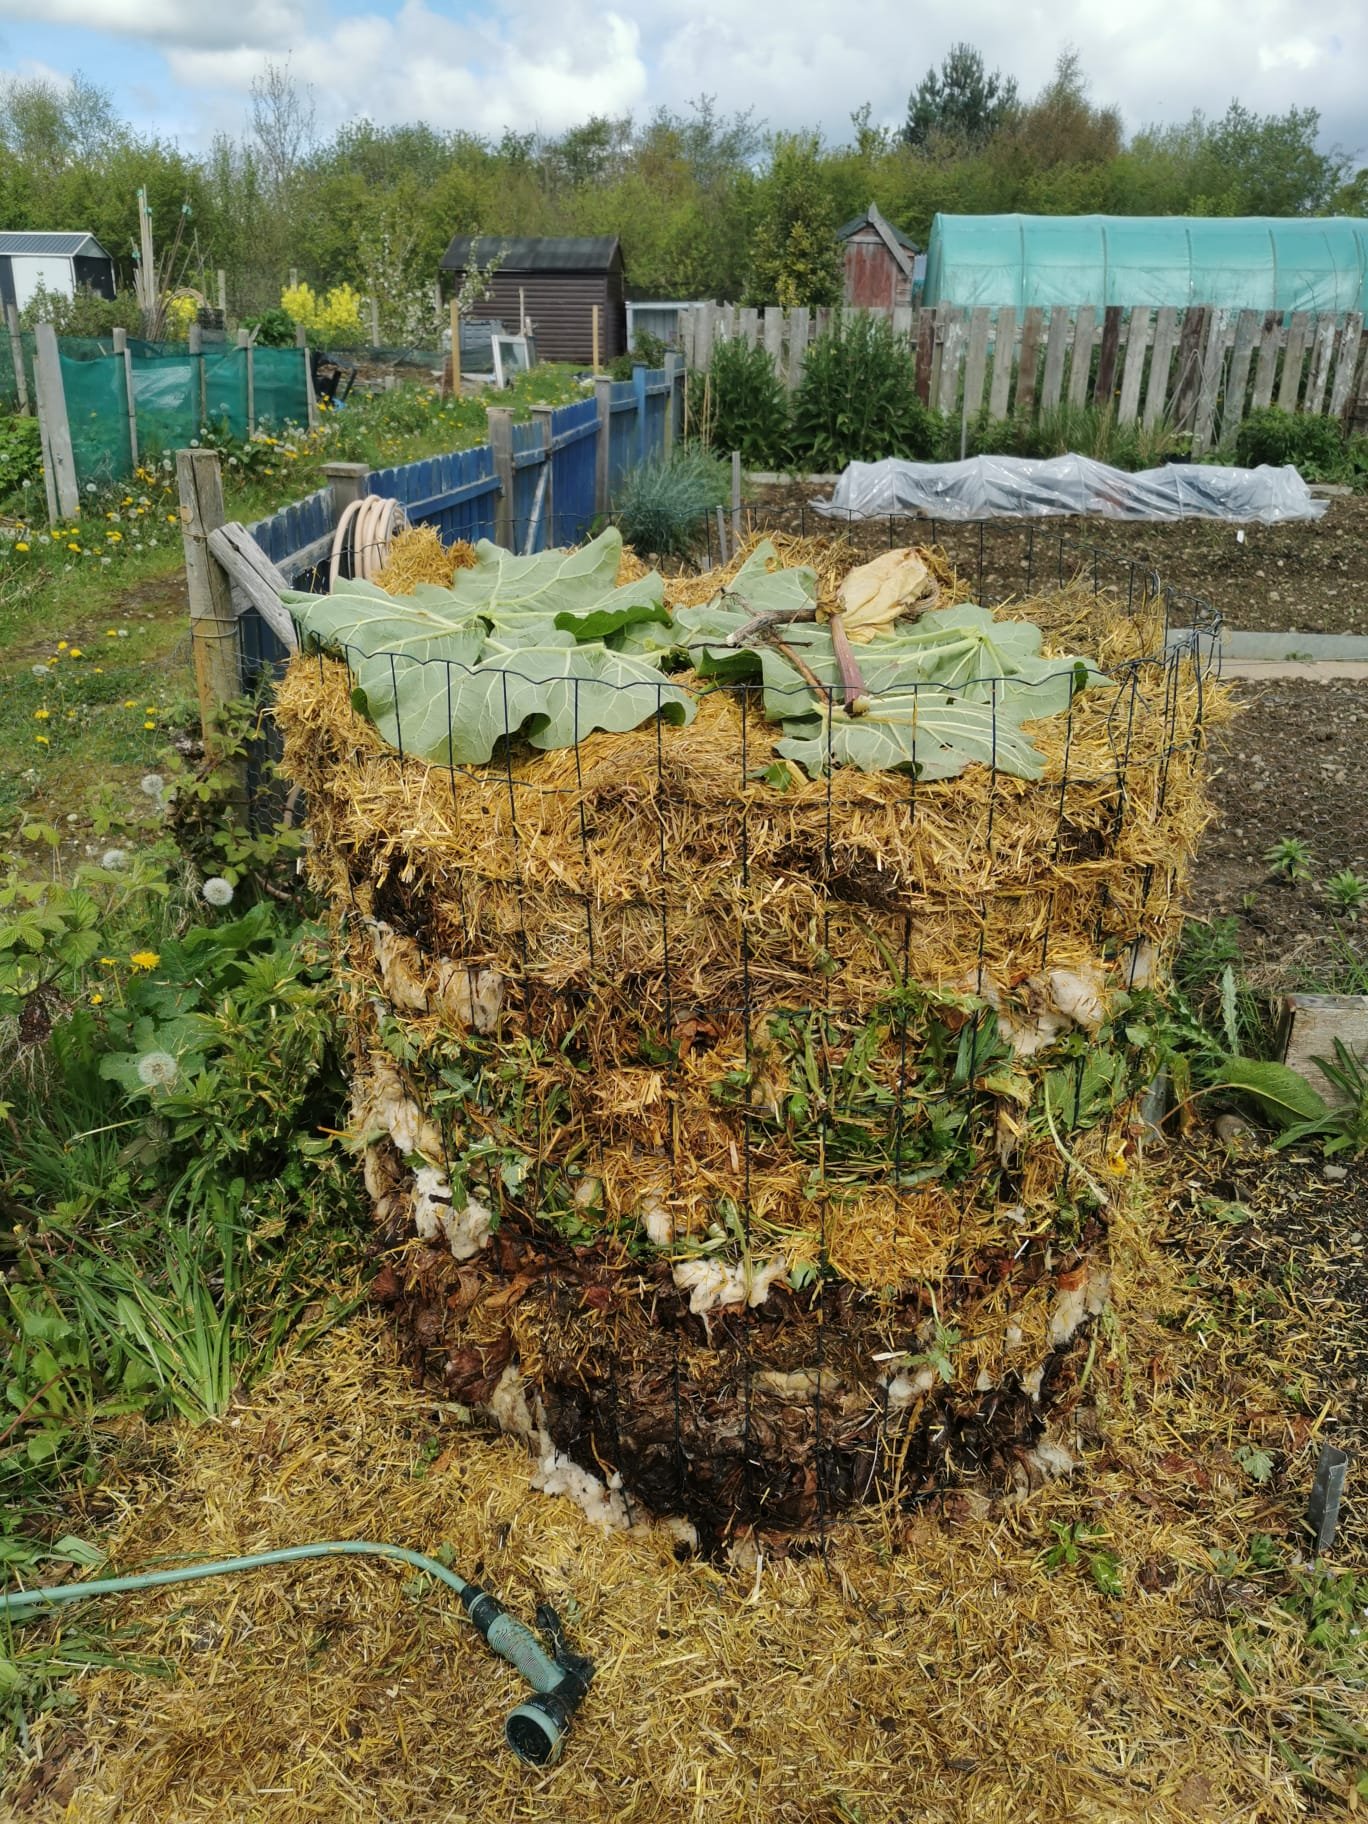
In the allotments, most people start off with a simple compost bay formed by cable-tying four pallets together. You can remove the front to turn your compost every month or two, and add more bays on as needed!
-

Get your mix right
You need the right mix of greens and brown materials for your compost to be successful. Too many greens, it’ll be smelly and wet. Too much brown material, it won’t break down fast enough.
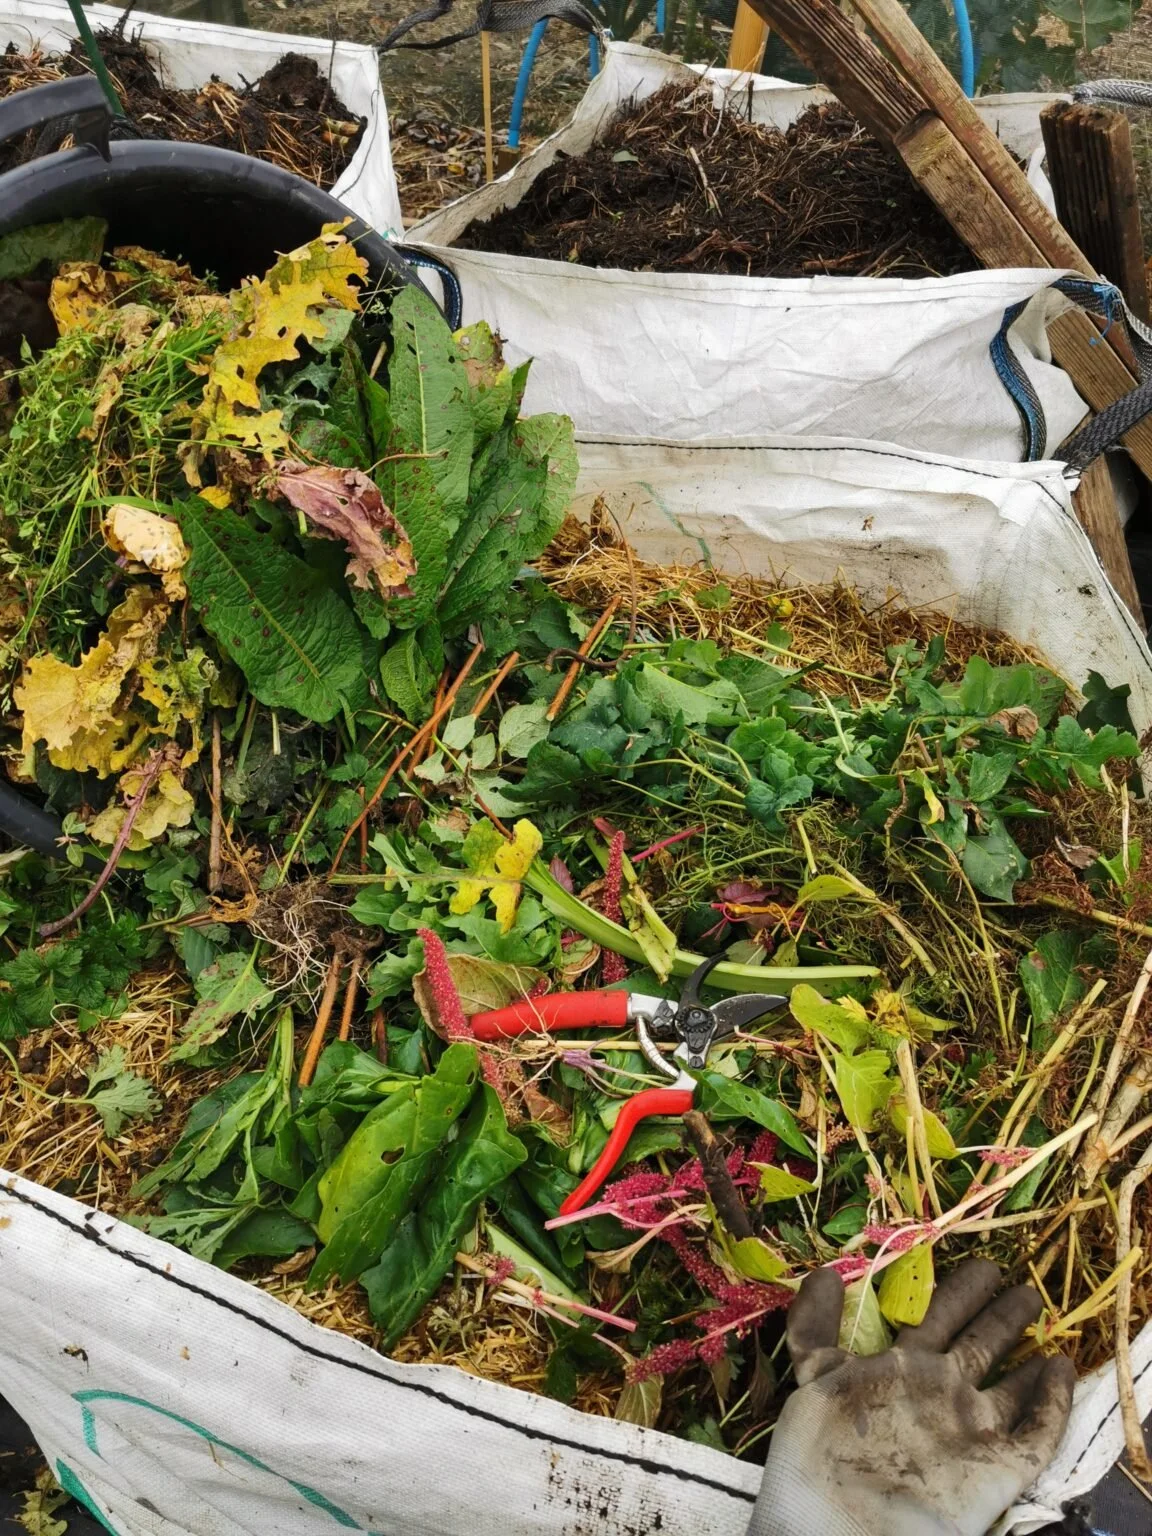
Materials that should go in the compost are grass, weeds (without the seed heads or perennial roots (like dandelions or docks), leaves, straw, old plants, vegetable scraps, and shredded cardboard.
-
Watch your surface area
Break up the material being added to your heap into pieces no more than 6” long. By chopping it up into smaller pieces, you increase the surface area the bacteria has to work on, meaning it’ll break down faster than one solid lump will!
-

Keep the pile moist
Keep the material in your compost pile moist - like a wrung out facecloth - but not too soggy.
If it gets too wet or waterlogged, your pile won’t be very effective.
-

Turn your pile regularly
Turn your compost at least once a month - this helps keep it aerated so the bacteria can break down the marterial. It also mixes up the less composted material into the centre, helping that to break down too.
Composting FAQs
-
It’s best to place composters on bare soil so worms and other organisms can access them. If possible, keep leaf mould cages in the shade so they don’t dry out. Garden waste composters will work fine in the sun - but you need to keep an eye that they don’t dry out!
-
Generally, it’s safe enough to compost leafy material from weeds - but often, allotment composters don’t get hot enough to kill seeds, so we suggest not composting flower/seed heads. Some weeds (such as dandelions and docks) have storage roots that hold enough food energy to allow the plant to regrow - so we chop off the roots and dispose of them seperately.
-
If your pile is too wet or there’s too much nitrogen-rich green material (like grass clippings) and not enough brown material (like leaves or straw) to balance it out, your compost can become anerobic (lacking oxygen) and start to smell funky.
To fix this, add more brown waste (shredded cardboard is great for drying up a pile), and turn the whole pile with a garden fork to get air back into the mix.
-
Rats generally only bother with compost piles if you’ve added food waste or if they’re looking for somewhere nice and warm to nest.
To avoid rats in your pile, turn it every week or two with a garden fork - this will disturb them and they will look for somewhere else to set up home.
-
This depends on your composting process - whether you get the right mix of greens and browns, whether you turn it regularly, and whether you keep it just right in terms of moisture.
But in general, you can expect some rough compost after one year. See ours further down the page!

The finished product
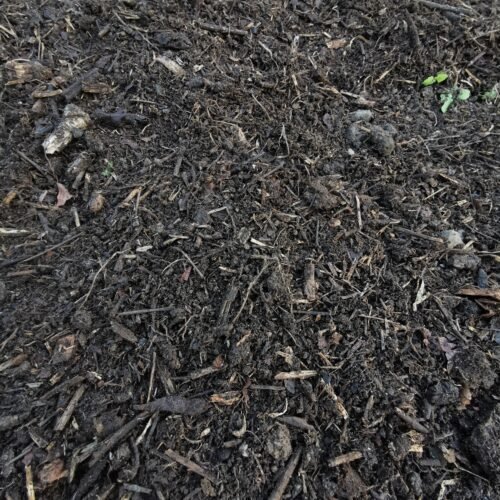
If you keep your ratio of green to brown materials right, make sure you maintain the moisture levels, and turn it frequently to keep it aerated, your compost will be ready in 6-12 months. Here’s a batch we made earlier!
Sieve or pick out any large lumps and sticks, and throw them back into your heap for a second composting.
Your compost can then be added to your beds. Keep an eye out for weeds - it’s likely that homemade compost will have some weed seeds in it, unless you were very particular with what you added to your pile.

Leaf Mould
Leaf mould is really easy to make, although it does take time. Unlike compost made from green waste, this is a cold composting process where fungi (rather than bacteria) break down the leaves over a year or two.
The easiest way to make leaf mould, is to load up a skip bag or wire cage in the autumn when the trees are shedding their leaves, give them a good soaking as you fill the bay, and let it does it thing!
Unlike compost which likes sunshine and heat, leaf mould cages are best off in the shade so they don’t dry out. In summer, or if you see the leaves are dry and crunchy, give it a good watering with the hosepipe. You also don’t need to turn it like you do with compost - it really couldn’t be easier to look after.
Start a new pile every year - you don’t want your fresh leaves on top of nearly ready leave mould, or you won’t be able to reach it! When it’s ready (up to 2 years), leaf mould is crumbly and smells earthy like the forest floor. You can add it directly to your beds as a soil amendment or mulch.
To speed the process up, you can shred the leaves before adding them to your leaf cage. This means the pieces to be broken down are much smaller, with more surface area.
If your leaf cage is near to your compost bays, you can also pinch a handful if you’re short on brown material for your compost bins!